Your hot water tank goes out. Your check engine light comes on as you’re driving on the Long Island Expressway and you need an emergency vehicle repair. Your furnace or air conditioning goes out. You just got laid off.
Things happen, and when they do you have to figure it out and move on. Noting this, if you were ever in a situation where you weren’t receiving a paycheck or had to pay for an unexpected repair, would you be able to afford it? It’s estimated that up to 50% of Americans are unable to cover a $1,000 emergency expense using their savings, forcing them to either borrow money or take out short-term credit.
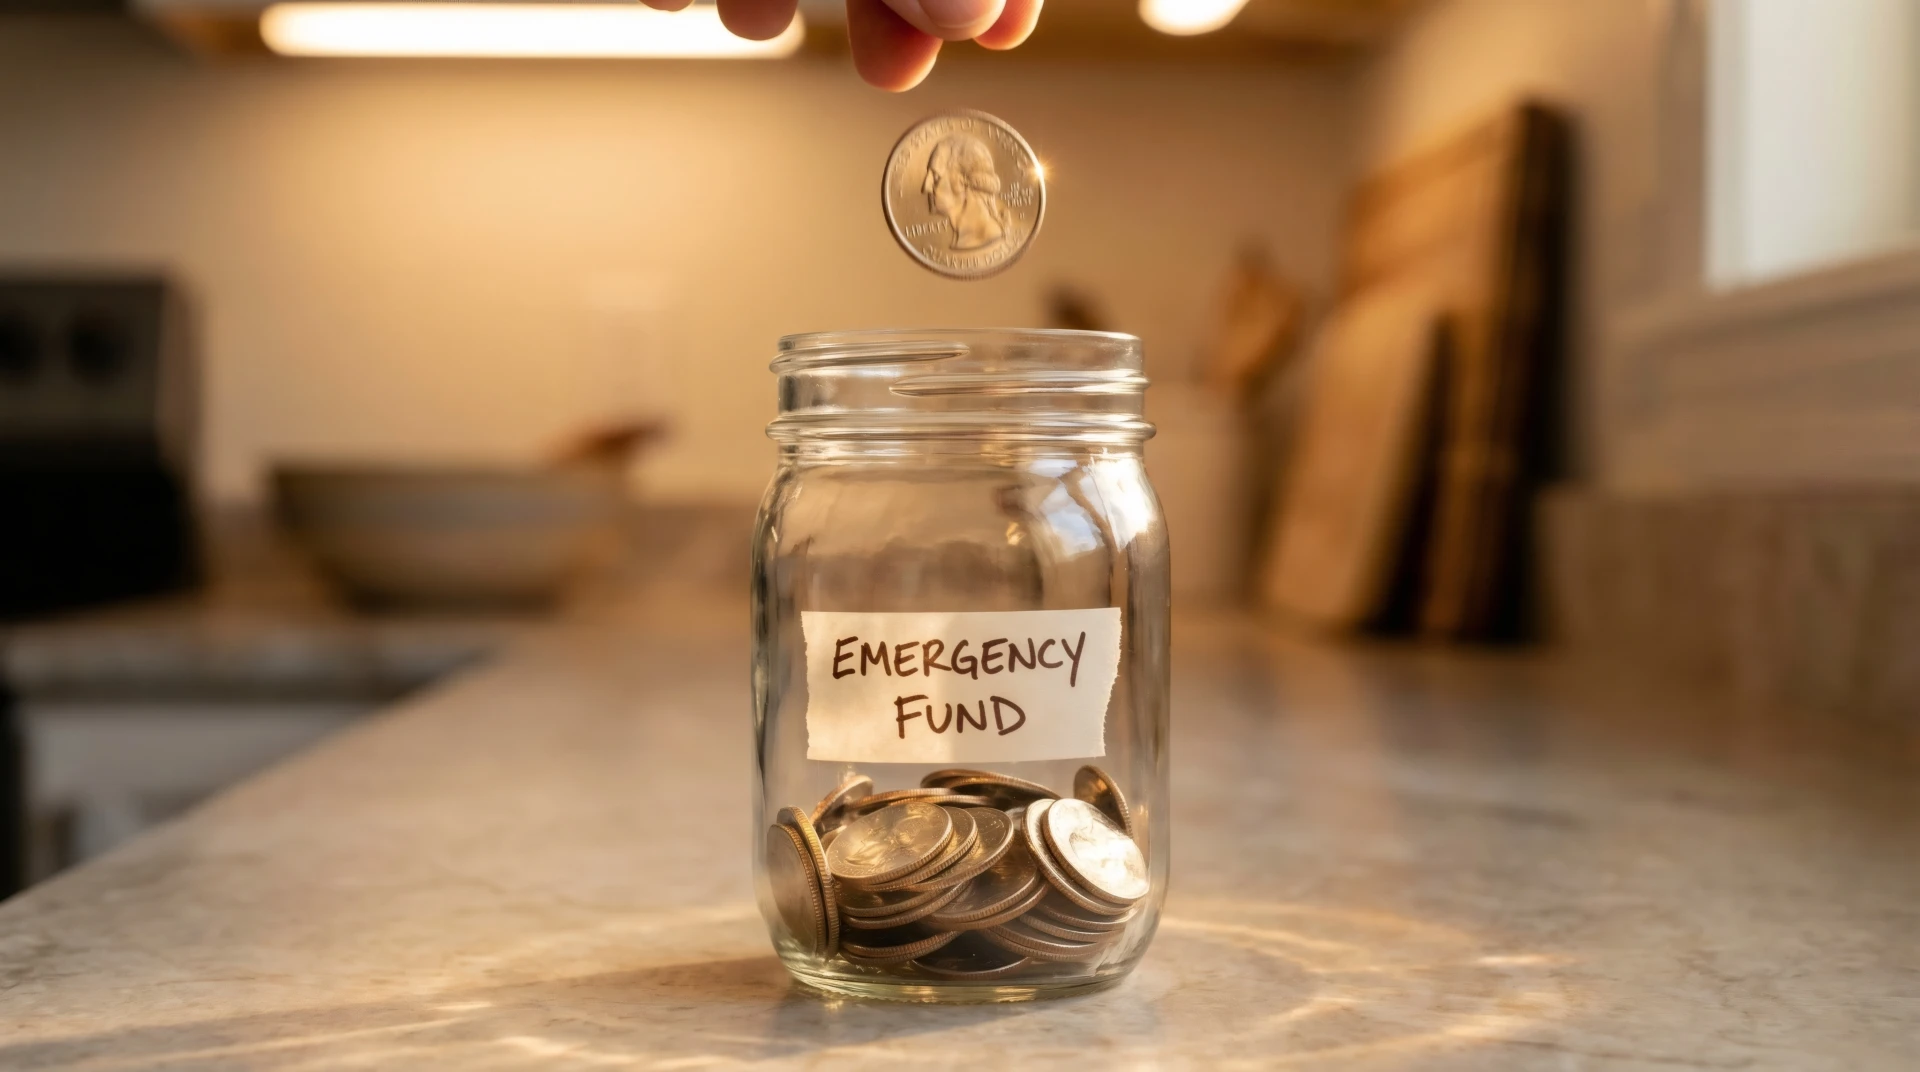
A better strategy is to commit to building a 3-month emergency fund for unexpected events. In this post, we’ll discuss the 5-step framework on how to build an emergency fund, how much your fund should have and more. Read on to learn more or contact Island Federal today.
What Is a 3-Month Emergency Fund?
A 3-month emergency fund is a separate account from your typical savings account that provides funds for essential expenses during an unexpected loss of income or a major unplanned expense. Fitting to the name, essential expenses include housing, utilities, groceries, transportation costs, insurance and existing minimum debt payments. Essential expenses do not include dining out, vacations or subscription-based payments.
A standard 3-month emergency fund for a Long Island family may range from $8,000 to $12,000, though a higher cost of living and unique family circumstances could push this amount past $20,000.
Why 3 Months Is the Right Starting Goal for Long Islanders
A 3-month emergency savings fund is the ideal starting point for Long Islanders because it bridges the gap between the region’s high cost of living and provides a realistic savings target that most households can achieve.
The Consumer Financial Protection Bureau (CFPB) also recommends that households start with a 3-month emergency fund rather than jumping to a 6-month or 12-month fund to provide a short-term financial safety net and avoid high-interest debt in such situations. However, once a 3-month fund is built, it’s best practice to work toward building a 6-month account to provide even more financial security in the event of an unexpected hardship.
Starting with 3 months can also make saving money feel more realistic, especially if you’re balancing everyday expenses, debt payments, and retirement savings contributions at the same time.
How to Calculate Your 3-Month Emergency Fund Target
Now that you’ve committed to your 3-month emergency fund, it’s time to start building it. Here’s a step-by-step guide on how to do it:
List Your Essential Monthly Expenses
The most important thing to remember as you’re building your account is that it should consist of only essential expenses. That is, the expenses that you need for survival and basic functioning. These are typically:
- Rent/housing
- Utilities
- Groceries
- Transportation costs
- Insurance premiums
- Minimum debt payments
- Childcare
- Medication
Again, essential monthly expenses do not consist of discretionary spending, like dining out, streaming subscriptions, travel and non-essential shopping.
To get an accurate count of your essential expenses, pull the last few months of your bank statements and add up the amounts in the above categories. Consider creating a spreadsheet to make it easy to understand.
Adjust for Long Island Cost of Living
The next step is adjusting for the cost of living on Long Island. Long Island’s cost of living is higher than the national average, especially in housing and transportation. Housing costs are significantly higher than the national average, property taxes are among the highest in the nation and households can expect higher costs for groceries, utilities and childcare.
Make sure you round up (rather than down) when estimating expenses for your emergency fund to help account for cost of living increases. Also, be sure to account for property tax timing in your savings plan. For instance, if you pay taxes directly and they’re not rolled into your escrow, budget accordingly for your emergency fund so you can adequately cover this expense.
Use This Simple Formula
Once you’ve calculated your monthly expenses and adjusted for cost of living increases, use this formula or access a financial calculator to determine how much you should save:
- (Essential Monthly Expenses) x 3 = Your 3-Month Savings Goal
For example, if you’ve determined your monthly expenses to be $5,000, just multiply that by 3. Your 3-month emergency fund savings target is $15,000. We’ll discuss how to build your emergency fund in the next section.
The 5-Step Plan to Build Your 3-Month Emergency Fund
Step 1: Set a Specific Savings Goal and Deadline
After you’ve used the formula to determine your savings goal, make a plan and start working on it. Be realistic about this savings plan. Instead of trying to aggressively build your emergency fund, set monthly micro-targets and work to build your fund over 12 to 24 months.
Step 2: Open a Dedicated High-Yield Savings Account
Keep your emergency fund separate from your everyday checking account to ensure that you’re not accidentally spending the money you’re intending to save. Make your money work harder by opening a dedicated high-yield savings account for your fund. A good high-yield savings account should offer the following:
- Competitive APY
- No monthly fees
- FDIC or NCUA insurance
- Easy transfers
Island Federal offers several savings products ideal for Long Island residents looking to build an emergency fund. Opening a separate savings account can also help you clearly distinguish emergency money from other savings.
Step 3: Automate Your Savings
Commit to building your emergency fund by arranging automatic transfers from your checking account every payday. The biggest reason emergency funds fail is due to commitment. By setting up automated transfers, you’re removing willpower from the equation and ensuring the money will be transferred.
Get into the mindset of treating your savings account as a fixed bill you have to cover every pay period.
Step 4: Cut Strategic Non-Essentials and Redirect the Cash
In addition to setting up automatic transfers from every paycheck, it helps to take a hard look at your current spending and identify where you can cut costs without sacrificing your standard of living. Things to look for include:
- Streaming subscriptions
- Dining out
- Impulse purchases
- Memberships
Take the money you’re saving from these cuts and allocate it toward your emergency fund.
Step 5: Accelerate With Windfalls
In addition to allocating funds from every paycheck and any savings to your current spending, look for other ways to boost your savings as you build your emergency fund. Some ideas include:
- A portion of your tax refunds
- A portion of any bonus money you earn
- Income from a side hustle or second job
- Gift money
A typical Long Island tax refund can often cover 1-2 months of essential expenses by itself, making this a great way to grow your account.
It’s also important to celebrate milestones as you grow your emergency account. Throw yourself a little celebration when you reach 25%, 50% and 75% of your goal. It’s OK to give yourself a little pat on the back as encouragement to keep going.
Where to Keep Your 3-Month Emergency Fund
We already established how your 3-month emergency fund should be separate from your standard checking account in a dedicated savings account. However, you have options. Three of the most popular options Island Federal offers are standard savings, money market and short-term share certificates. Here’s a look at the pros and cons of each:
- Standard savings: These are basic savings accounts that offer flexibility but low interest rates.
- Money market: Money market accounts are hybrid accounts that offer higher rates than standard savings accounts and often include check-writing and debit card access. However, money market accounts often come with minimum amount requirements, which can range into the tens of thousands of dollars.
- Short-term share certificates: These are time deposit accounts that offer fixed, guaranteed rates, often higher than those of standard savings and money market accounts. However, there’s little flexibility, as your money is locked for the certificate’s term, which can range from months to years. If you withdraw early, you’ll pay a penalty.
One option is a hybrid approach for your emergency account. For instance, consider keeping 1 month’s worth of funds in liquid savings and 2 months’ worth of funds in a high-yield money market account.
5 Common Mistakes That Slow Your Emergency Fund Progress
Avoid these common pitfalls as you’re building your emergency fund:
- Mixing your emergency fund with your everyday checking or your vacation fund.
- Setting an unrealistic accelerated timeline and giving up on your fund quickly when you realize your plan is unsustainable.
- Stopping contributions when the fund “feels” big enough and not when you’ve hit your actual goal.
- Not automating your savings and instead making manual transfers only when you feel your budget can handle it.
- Failing to adjust for inflation or any life changes.
When to Use (and When Not to Use) Your Emergency Fund
Let’s say it’s 12-24 months from now and you have your emergency fund fully established. You might be wondering when to use it. It’s important to stay disciplined and only use it for emergency situations such as:
- To cover expenses during a job loss or unexpected loss of income
- To cover any unexpected medical bills not covered by your healthcare insurance
- An unexpected vehicle repair or home repair
Refrain from tapping into your fund to cover things such as planned expenses, holiday shopping, vacations or predictable annual bills (i.e., vehicle registration, insurance renewals, etc.)
After you withdraw money from your emergency fund, rebuild it by setting small, achievable goals and replenishing it gradually, just as you did when you were building it up to start.
Your Long Island Safety Net Starts at Island Federal
Are you ready to build your emergency fund to give you financial security when the unexpected occurs? Island Federal is here to help you meet your savings goals.
As a local, non-profit financial institution, our focus is on our Long Island members, not on our profits. This member-focused approach allows us to offer superior service and ensures we’re working in your best interest, whether it’s helping you toward a savings goal or setting you up with any of our other products.
Calculate your emergency savings fund goal, then contact us today to explore our offerings to help you build it.
Frequently Asked Questions
How much should a 3-month emergency fund be for a Long Island family?
A 3-month emergency fund amount isn’t a universal number, it depends on your family’s specific situation. It should account for your family’s monthly expenses and cost of living. Keep in mind that the cost of living on Long Island is significantly higher than the national average as you calculate this number. To calculate how much you should save as part of a 3-month emergency plan, use this formula:
- (Essential Monthly Expenses) x 3 = Your Target Amount
Are 3 months of expenses enough, or should I save more?
If you’re in a situation to save more, most financial experts suggest families save up to 6 months’ worth. However, 3 months serves as an ideal short-term emergency expense fund should you experience any unexpected hardship.
Where is the best place to keep my emergency fund?
Your emergency fund should be separate from your everyday checking account, ideally in its own savings account. In addition to a standard savings account, other options include a money market account or short-term share certificate.
How long does it take to build a 3-month emergency fund?
While this depends on your financial situation, most 3-month emergency funds can be built within 12-24 months. Refrain from trying to build it too aggressively and instead set micro-targets each month.
Should I pay off debt or build an emergency fund first?
The best course of action is to do both at the same time. Consider establishing a small starter emergency fund with a few thousand dollars, then tackle paying down any high-interest debt. As you pay down high-interest debt, continue to build up your emergency fund with any money saved from this expenditure.
Can I keep my emergency fund in a share certificate?
Yes, but there are pros and cons to a share certificate. While you’ll earn higher interest rates than you likely will in a standard savings account or money market account, certificates tie up your money for a period of time. Additionally, there are early withdrawal penalties that could undo some, or all, of your growth.
What expenses should I include when calculating my emergency fund?
It’s best practice to include only essential, non-discretionary living expenses when building your emergency fund. These include housing/rent, utilities, food and groceries, healthcare, transportation, debt repayments and any other financial commitments (i.e., child care, tuition, etc.). Don’t include discretionary expenses such as dining out, vacations or subscriptions.
How do I rebuild my emergency fund after using it?
The best way to rebuild your emergency fund is to set small, achievable goals and replenish it gradually, rather than trying to rebuild it all at once. Get into a mindset of treating allocations to your savings as an essential monthly bill and set achievable goals.